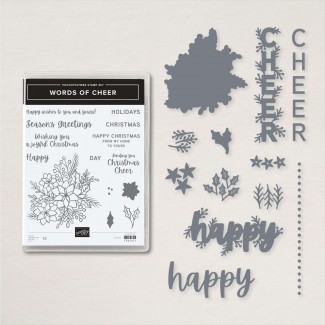
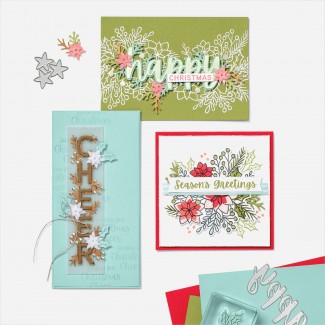
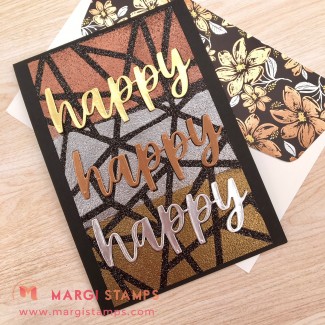
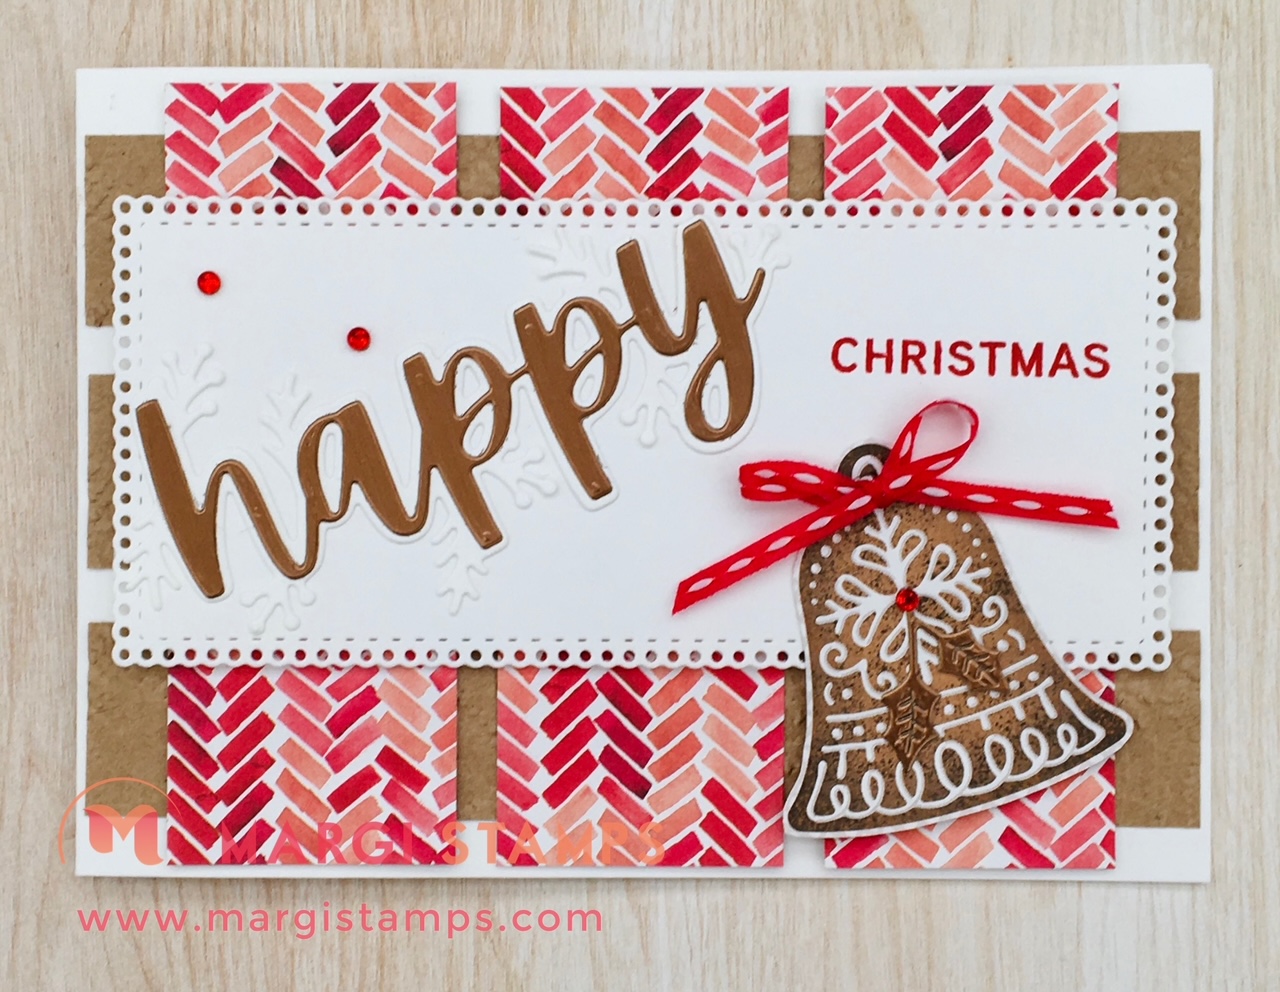
Welcome to your Make it With Margi, November Tutorial Card #3. We use Words of Cheer Bundle to make this “HAPPY” Christmas card. We use the stamp set and dies, bring in strips of Painted Christmas Designer Series Papers and Macrame embossed Kraft Paper to provide contrast and layering to our “HAPPY”. The card is finished with a fussy cut Gingerbread & Peppermint biscuits (they are easy to cut), some sprig die cuts, ribbon and Red Rhinestones. I love that many of our products from different suites work together; we can mix & match to come up with our own individual designs.
If you’re not in my class groups, you are welcome to enjoy these designs and your own creativity. If you would like to join one of my groups (online – at the moment) and live in Australia, please contact me. I would love to hear from you.
Ingredients for Words of Cheer Bundle & Happy Card
Let’s step through the ingredients used for our Card. Some are in the July-December 2021 Mini Catalogue, and some are the pre-release Eden’s Garden.
Words of Cheer Bundle and Making HAPPY
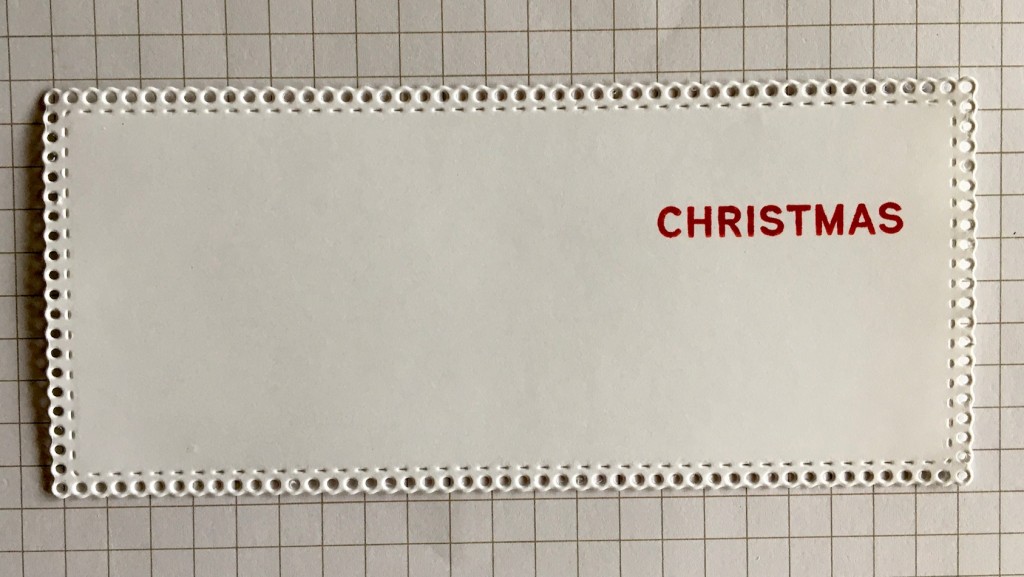
The heroes of this card are the ‘HAPPY’ dies in the Words of Cheer Bundle. I have paired the dies with the CHRISTMAS stamp in the coordinating stamp set. I’ve also used one of the greetings on the inside of my card.
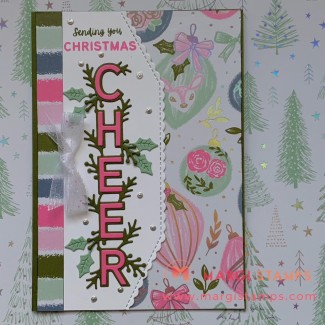
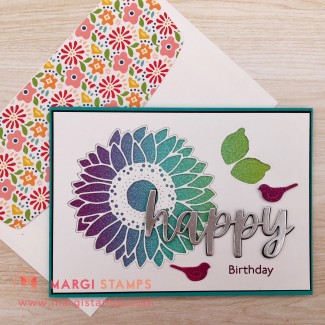
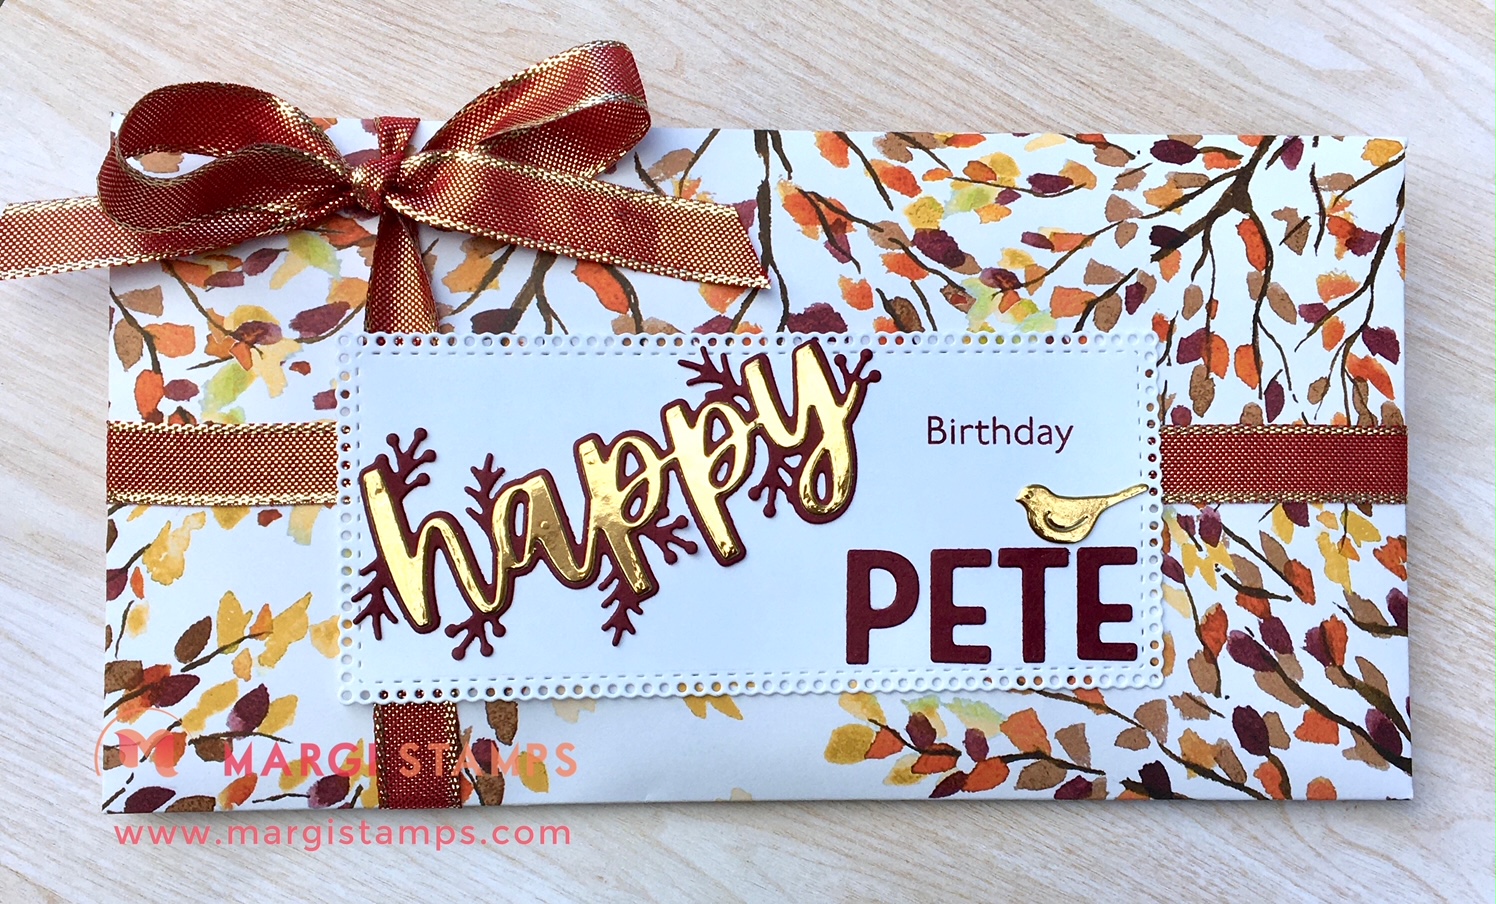
The Christmas Cheer dies don’t have to be just for Christmas. They could work for any celebration card, including New Year Cheer, Happy Birthday, Happy Anniversary, Retirement etc. Just pair the HAPPY or CHEER with other greetings to make your own creation. I’ve loved making birthday cards and envelopes with these dies. You can see the photos below.
Click HERE back to the “Cheer” Tutorial (card on RHS) of the gallery.
Click HERE for the Words of Cheer product link in my 24/7 Online Store
Adhesive Sheets
Oh! my goodness! Why didn’t I use these earlier. They are the perfect adhesive to use with foil and tiny die cuts.
- They come in a pack of 12 sheets of 6″ x 12″ and each sheet has 3 12″ strips.
- You peel a strip (or part of a strip) and adhere it to the back of your foil, then die cut.
- You are ready to gently peel of the remaining adhesive backing and adhere the die cut to your project.
- No messy glue to spoil your shiny foil.
I used these Adhesive Sheets when die cutting all the Brushed Metallic Cardstock for this project.
Click HERE for the product link in my 24/7 Online Store
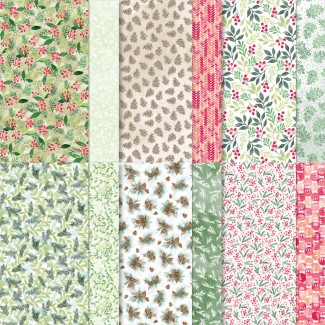
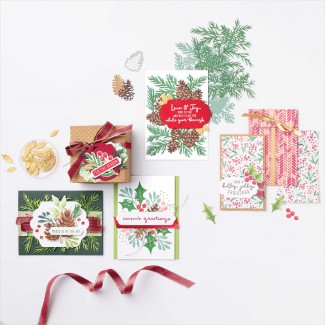
Painted Christmas Designer Series Paper
Click HERE for the product link in my 24/7 Online Store
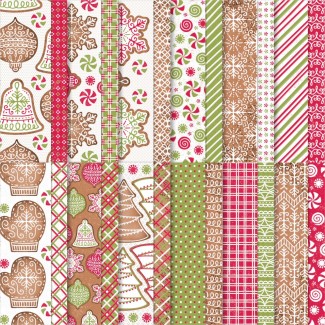
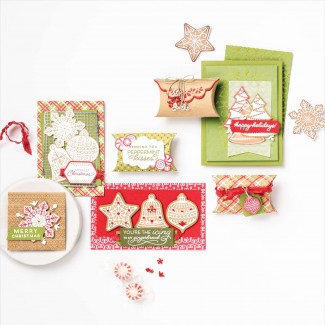
Gingerbread & Peppermint Designer Series Paper
Bake up batches of biscuits without the mess using this Gingerbread & Peppermint DSP. The paper is shaded to look like freshly baked goodies. It included brown for the biscuits and reds and greens for icing and peppermints. It matches beautifully with Painted Christmas DSP and Kraft Paper.
Click HERE is the product link in my 24/7 Online Store.
Words of Cheer Bundle & Happy Card
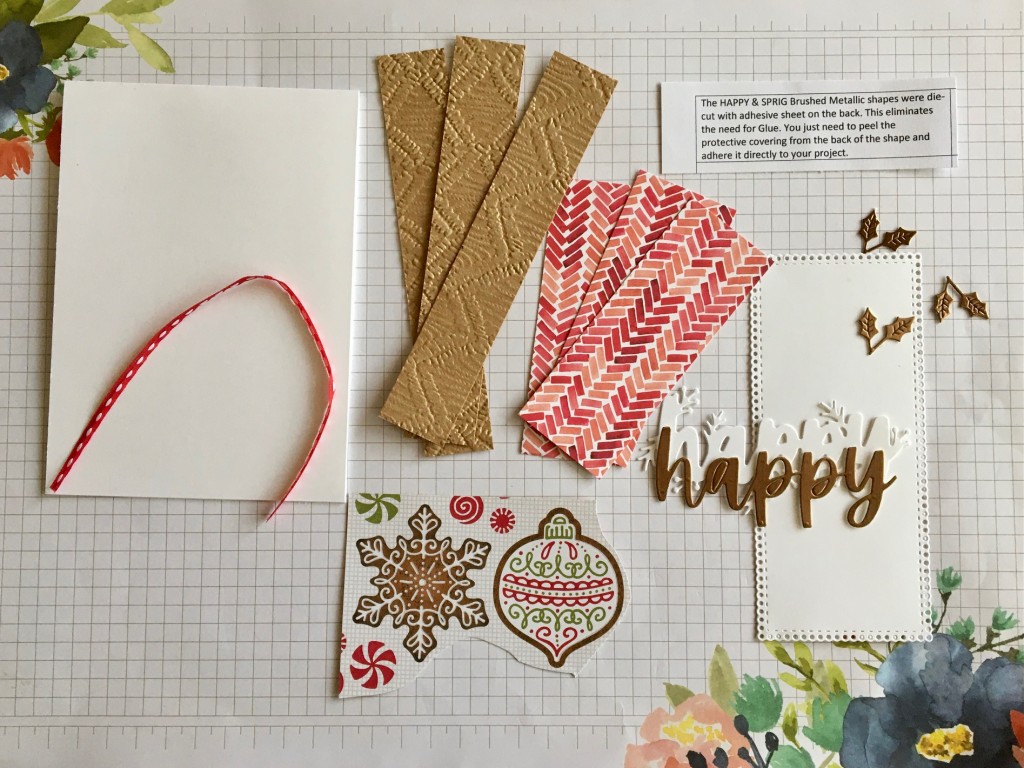
Here is your class kit.
SUPPLIES
- Stamp Sets, Dies & Embossing Folders: Words of Cheer Bundle, Ornate Layers Dies, Macrame 3D Embossing Folder.
- Papers: Painted Christmas, Gingerbread & Peppermint DSP, Kraft Paper, Brushed Metallic, Basic White & Basic White Thick cardstock.
- Inks: Real Red stamp pad
- Other: Red Rhinestones, Playful Pets Trim Combo (red ribbon), Adhesive Sheets, Mini Dimensionals, Multipurpose Liquid Glue, Mini Glue Dots, Take your Pick Tool, Trimmer, Cut & Emboss Machine
HERE is the direct link to all current products in my 24/7 Online Store.
DIMENSIONS
- Card Base: Basic White Thick, 29.7 x 10.5 cm scored at 14.85 (I have done this for you),
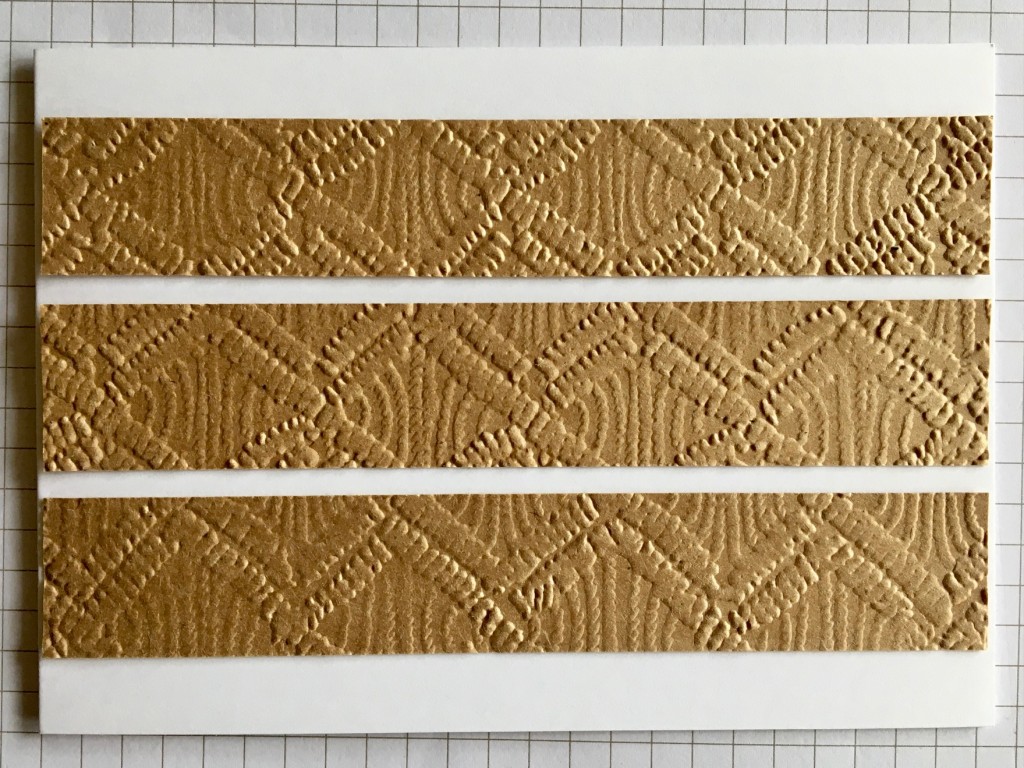
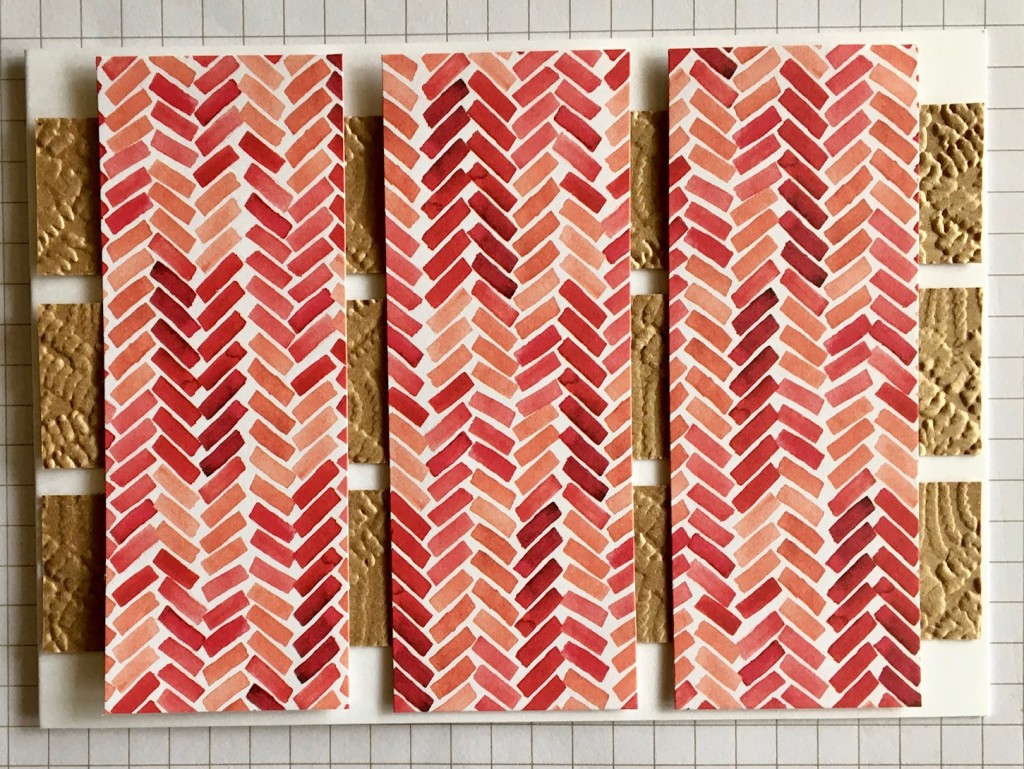
- Layering DSP & Paper: 3 of 14.5 x 2.5 cm strips of Kraft Paper embossed with Macrame 3D Embossing Folder, 3 of 10.1 x 3.8 cm (4″x 1 1/2″) Painted Christmas DSP, Ornate Layers die cut, scrap Gingerbread & Peppermint DSP
- HAPPY & Sprig Die Cut: Brushed Metallic Cardstock & Adhesive Back Sheets.
- Other: Red Ribbon and Red Rhinestones.
STEP BY STEP DIRECTIONS – Words of Cheer Bundle & HAPPY Card
-
- Burnish card base score line.
- Fussy cut two gingerbread biscuits from your DSP.
- Stamp greeting in Real Red in top right hand corner of Ornate Layer die cut, approx. 2 cm down from the top
- Adhere embossed Kraft sheets to card front, adhere Painted Christmas DSP strip to card front.
- Gently peel the adhesive sheet backing off the Brushed Metallic HAPPY, and adhere to the white HAPPY, adhere this element to the white ornate layer die cut.
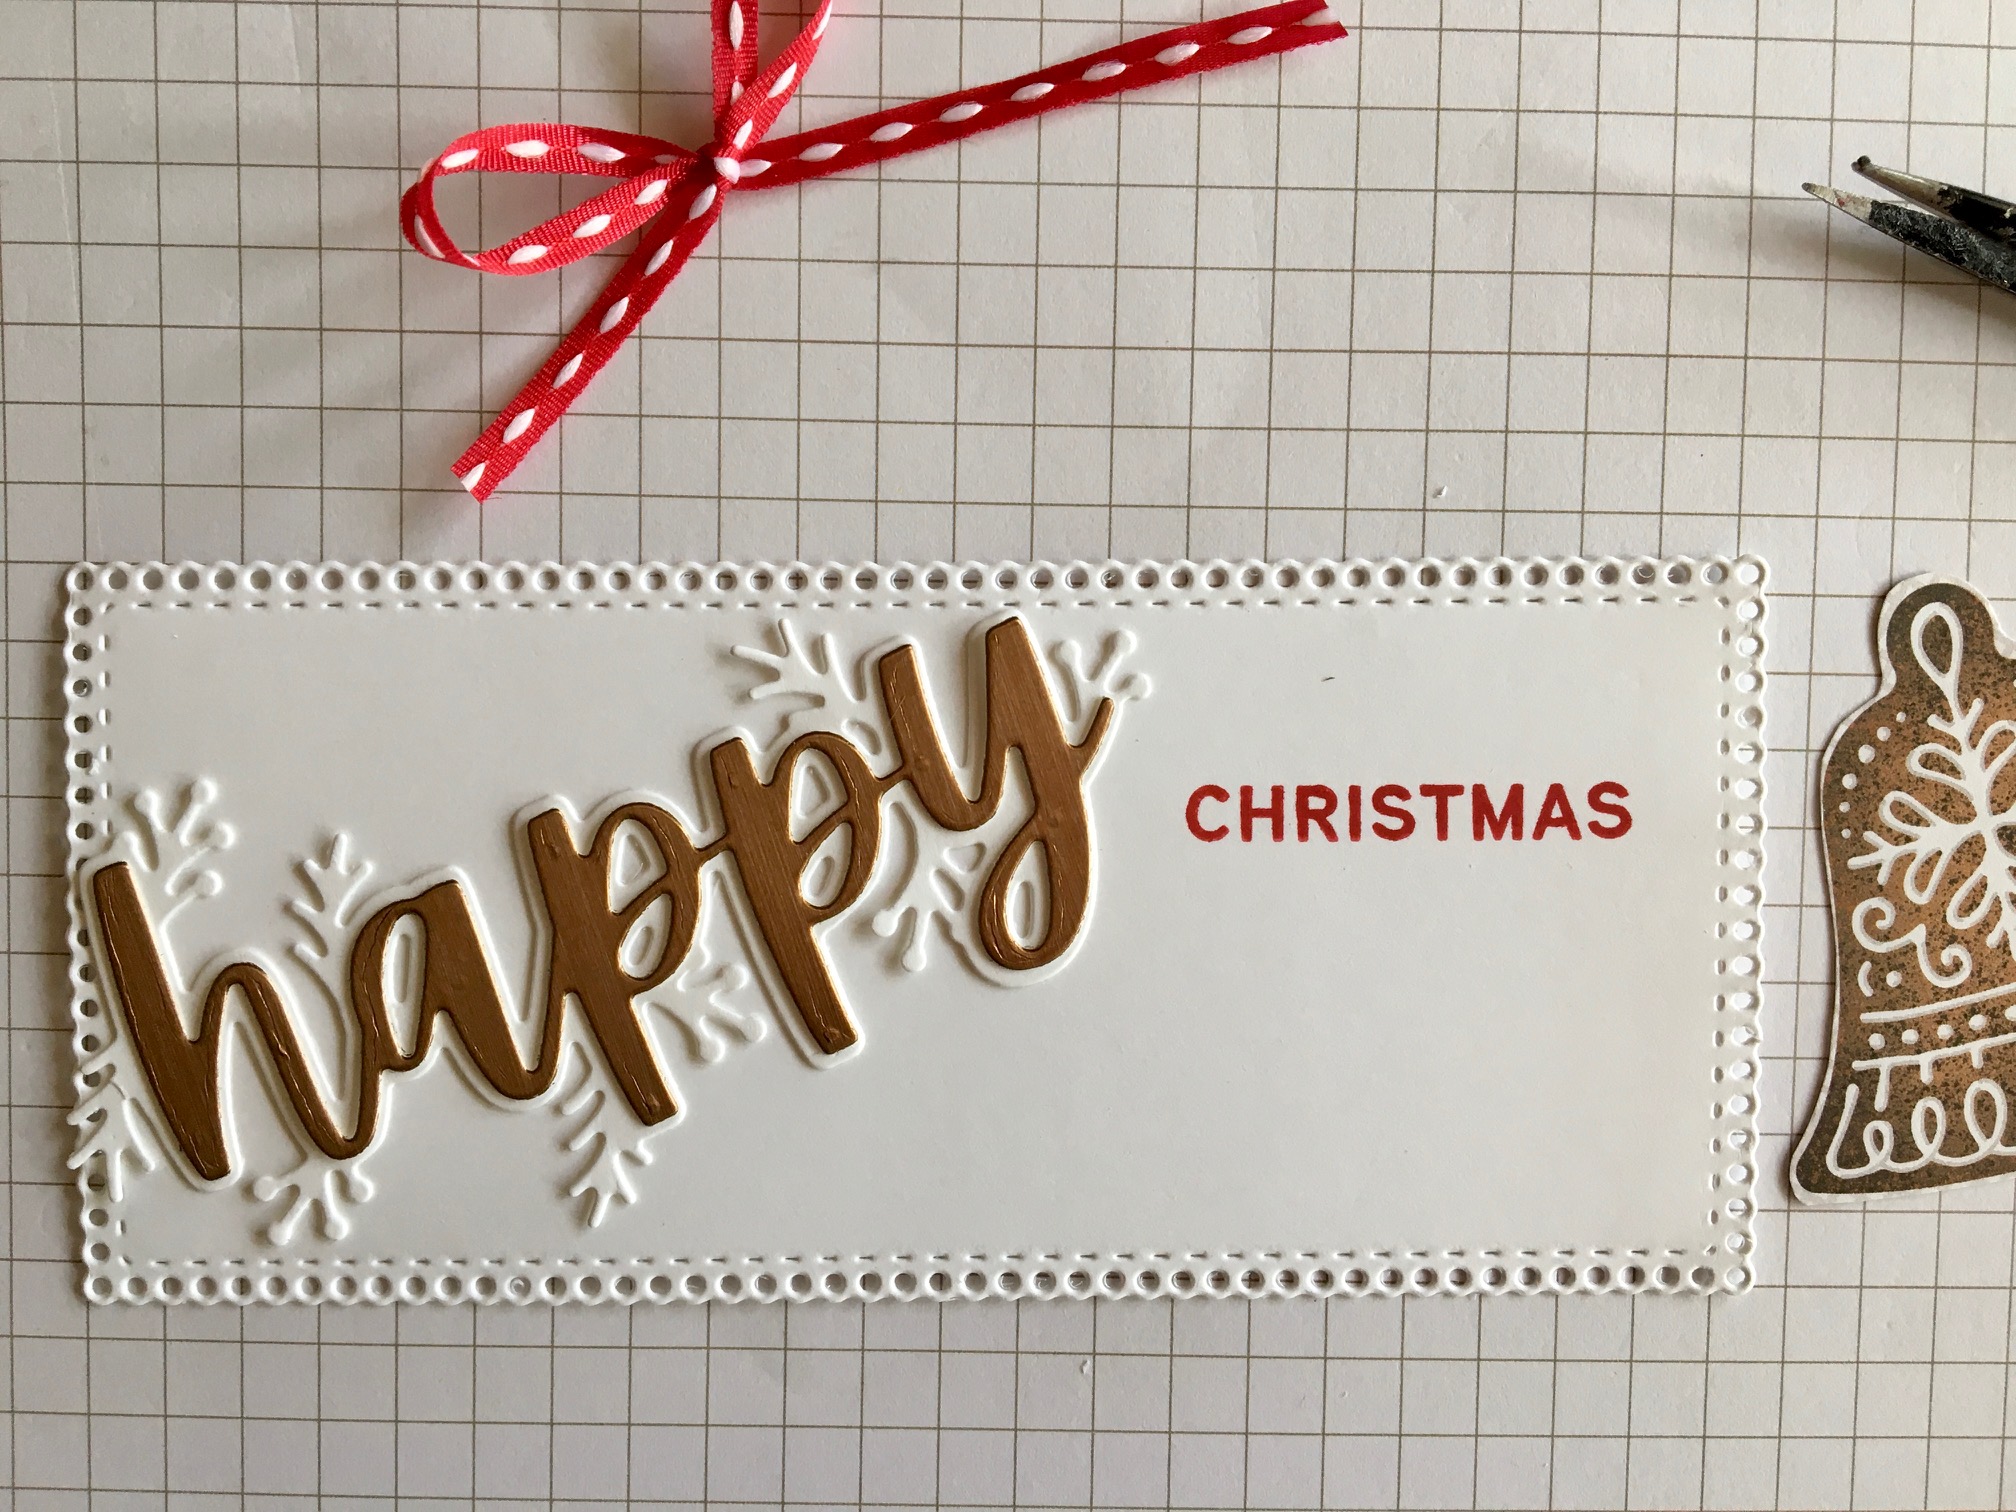
- Adhere this White Ornate Layer element to you card front with Dimensionals.
- Gently peel the adhesive backing from one of the sprigs and adhere to one of your biscuits. Adhere the biscuit to card front using Glue and Dimensionals
- Tie a bow and adhere to card front with Glue Dot
- Adhere Red Rhinestones.

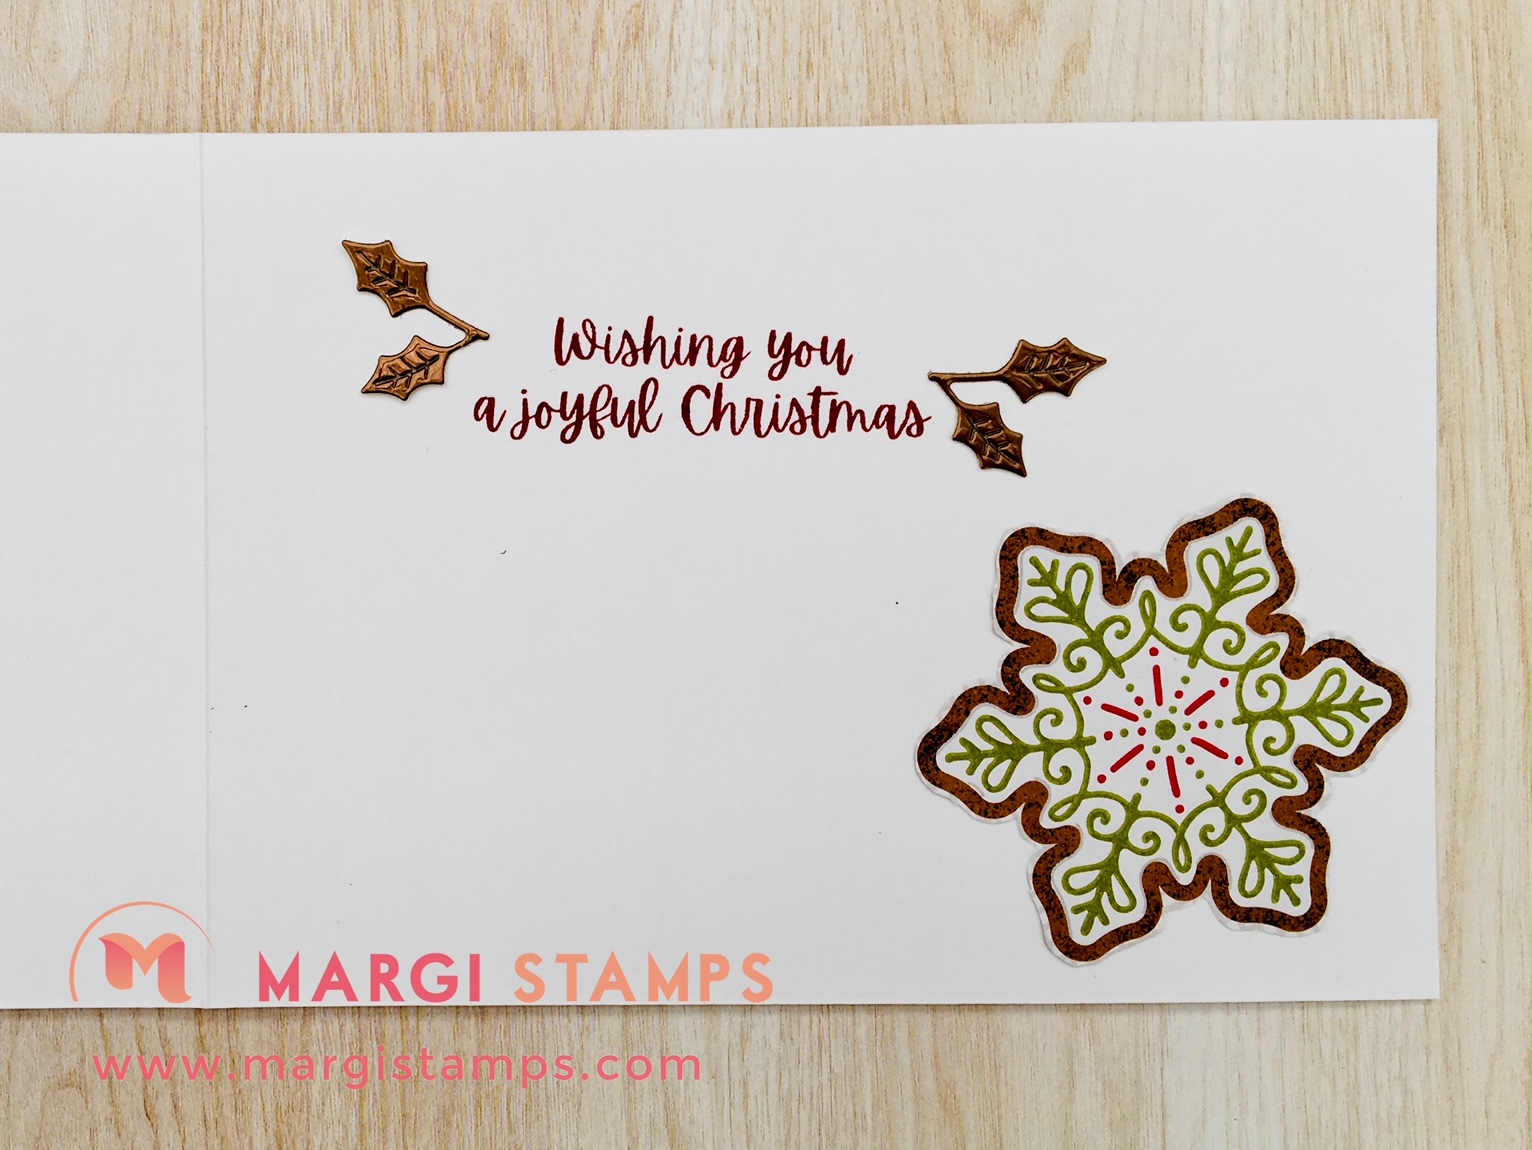
- Stamp greeting on the inside of the card, adhere the other sprigs and biscuit. The sprigs are all adhesive backed.
Recap Card #1 Peaceful Place Fancy Fold Gift Card Holder
HERE is the link back to the tutorial.
Recap Card # 2 Ever Eden Paper, Positive & Negative Space Christmas Card
HERE is the link back to the tutorial.
CREATIVE WOW TUTORIAL: HERE IS THE NOVEMBER 2021 SNEAK PEEK
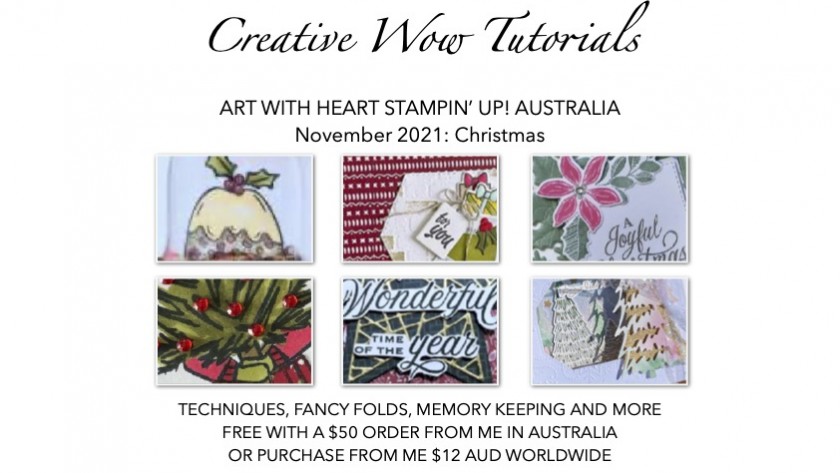
BE INSPIRED BY THESE FABULOUS CHRISTMAS IDEAS
There are stunning designs and many different ideas, from standard cards, fancy folds, 3D cards, ornaments, and gift packaging.
I have emailed all the Tutorials for the previous months. As the files are quite large, please let me know if you have not received your copy. Please be in touch if you would like to purchase back copies of previous Tutorials or, this current Tutorial.
JOIN MY TEAM – NOVEMBER TREAT:
Join just for yourself to get a discount, and/or build a business, be part of my team and meet friends who love to craft. The choice is yours, and I’m only too happy to chat with you OR, you might like to hop on over to my JOINING PAGE
Here’s a quick look at the offer including the November treat!
- Choose $235 product for a $
169$130 spend ($66$105 for FREE) from our current Catalogues. - FREE Shipping
- FREE Business Kit, including current catalogues.
- And the opportunity to order from any existing catalogue (and upcoming Catalogue) at 20% discount.
JOIN MY CLASSES:
Please contact me if you would like to join my paper-crafting classes. I run several class groups.
You might like to arrange a private class for you and your friends, or you might like to join my online/virtual class with prepared class kits and PDF/web Tutorials.
Please chat to me about your ideas or queries.
Have Fun Crafting. Enjoy the samples and your own wonderful creativity.
Facebook page is:
https://www.facebook.com/margistamps/
Pinterest site is:
https://www.pinterest.com.au/margisank/
Stampin’ Up! 24/7 Online Store is HERE
My Stampin’ Up! website is HERE
My blog website is:http://www.margistamps.com/
……… till next time, stay safe, have fun!

LOVE IT. LIVE IT. SHARE IT.

